Online worldwide cook shop selling of Silicone Bakeware Moulds, for making cakes & bakes, jellies, soap, and many other uses.
This Blog aims to show all our latest ideas, recipes, photos, competitions and news of upcoming products
We had 60,000 silicone bakeware moulds arrive in last week. Loads of new designs - it's going to take me some time to get them all online.
There were several new chocolate collection moulds amongst them including ducks and bunny rabbits, dinosaurs and mini roses. I couldn't resist the duck one and the candies from this are just too cute to eat !
I so want to make some as cupcake toppers.
I know, I know. I should be preparing for the show. Still - I've got to have SOME time off. Please forgive me - the photos are not great. I did not get the light box etc out to take photos of the candies. Then again, it's after 3am and I know you want to see them.
This mould makes up to 4 bunnies, 4 ducks and 6 eggs at a time.
The candies shown are simply Wilton Candy Melts with the details painted on in the candy melts.
I'll do more some other time at a sensible time of day. These are a little rushed ..... and it shows. Still. Oliver will be only too happy to gobble them in the morning.
You will find I have not yet got the info or measurements done for these and online. There is so much to do and I'm SO far behind. Does not help that my laptop died last week and had to go and have the operating system reinstalled early this week.....
Another new item in is these silicone ice lolly / popsicle moulds which are now available in sets of 4. You can have them in assorted, green, orange, yellow or pink. Each comes with a pop on cap. Just fill approx 3/4 full (to leave room for the liquid expanding as it freezes) and pop in the freezer.
Oliver and I had some fun a couple of weeks ago. I can't resist showing you the results.
I got some dental alginate powder. You mix it with water and it sets into a rubbery type stuff within a matter of seconds. Dentists use it to take impressions of teeth.
I mixed a batch of it up and poured it into a silicone lasagne mould. Oliver then got to plunge his hand into the gunk and wait several seconds until it set.
After it set, I filled the cavity with some mixed plaster of paris and we left it a couple of hours to harden.
The result was the cutest hand casting. Unfortunately, it was very soft and fragile at the time. It was really easy just to lift out the alginate with the plaster cast inside. Extreme care needs to be taken at picking off the set alginate. It comes away easily, but the plaster is still damp and easy broken.
I broke two of the fingers off the cast and had to stick them back on later with adhesive. Luckily, it's fairly hard to tell. The cast is definitely going in his memory box. It's so sweet to have a casting of his hands whilst he is still little.
Below is his first recognisable drawing - Oliver aged 2.1/2. Everything else just looks like scribbles.... but this is a car with doors and coloured it ! The drawing and hand casting were from the same weekend.
I'm really really proud today. For the first time ever, Oliver has been dry all day. We started trying to get him into pants on Monday. He's saving up his reward stickers for going on the potty / toilet to swap for a trampoline as soon as the building blocks toy box is covered. Started with one sticker on Monday and got SIX stickers today !
Blogger has been down for a couple of days and I've lost some draft posts I was working on. I had intended to show you a few other things before letting you see my edible bouquet - but am not really in the mood for retyping stuff I've already done.
Still - I'm sitting on the sofa doing my blog post, looking out at an almost full moon with a big mug of tea and a candy fudge pop..... The house is in silence. Oliver is asleep and Steve is away camping. I've got the luxury of bed waiting for me upstairs when I finally decide to call it a day.
It's been a rather hectic week and I've not been in the office much as Oliver has been poorly.. I'm glad to report that he seems to be feeling a little better this afternoon. I've got everything crossed that he sleeps through the night. Almost every night this week, he's had fevers and been poorly which means no work or rest for me.
I'm trying to remember which day / night I started making this. It could have been Monday. At least, I think it was. I finished it on Thursday and sent it courier to my mum in Scotland. Thankfully, it arrived yesterday intact.
I came up with this concept a year or so ago. I started off with a mini cupcake bouquet and that gave me the idea for a soap bouquet
Since then, I've seen cake pops sprouting up EVERYWHERE. I think they look absolutely super - but I really really don't like the texture.
Recently, Ann @ AnncooJournal.blogspot.com made some cute looking cake pops and it made me want to try again. I knew I'd have to do something a little different though as the texture of cake pops literally makes them unedible for me.
First of all, I had a play last week with a 16 rabbit silicone bakeware mould and also a 15 rose mould. I made some chocolate hazelnut mini friands on sticks. Mega cute they were too and VERY yummy. Oliver liked them rather too much and they didn't last long enough to cover in candy melts.
I did try dipping the ones made in the 15 rose - but wanted a smoother, sleeker finish. I really liked the soap bouquet I came up with a year ago. Until a couple of weeks ago, I'd avoided Wilton Candy Melts - thinking they would taste like the really vile fake chocolate cake covering stuff you can buy in th supermarkets. Now that's what I call vile. Uggh.
Well, I had the opportunity to taste a Wilton Candy Melt and was truly surprised. It's pretty yummy stuff - tastes just like white chocolate - and comes in a super array of colours. It's easy to work with and sets much faster than chocolate.
Rather than make solid sweets, I decided to make up a batch of vanilla fudge. Truly sweet and tastes delicious.... but just to top it off - I'd cover it in the candy melts for that shiny pink finish..
Use a paint brush and work it into the detail to prevent air bubbles. I'd normally do this but decided not to faff about bother this time. The results after unloulding were not as good and left the finished item showing bubbles. Ooops... never mind.
Next step was to pack each candy shell with homemade fudge. I'd made the fudge the night before and it was ready waiting in the fridge. Recipe is below for convenience.
You will need a large, heavy based saucepan and a WELL buttered 8" square tin - or an 8" square silicone mould (unbuttered). It's also VERY important that you prepare your ingredients in advance for this recipe so everything is to hand. When you need them - there is NO time to spare !
Ingredients
125g butter
3/4 cup of evaporated milk
2 cups of granulated sugar
12 marshmallows
200g white chocolate - chopped
2 tsp vanilla extract
Put the butter, evaporated milk, sugar and marshmallows into your saucepan. Melt together on a medium heat and bring to the boil - stirring constantly.
Set your timer - or check your watch. Keep at a boil for EXACTLY 5 minutes if you want a soft fudge leaves teeth marks as you bite in. This is how I prefer it.... However, if you prefer it crumbly, boil for 7 minutes. Don't worry about darker coloured flecks rising up. These disappear totally later. Just don't forget that you need to constantly stir as soon the ingredients are all melted
Take it off the heat and immediately add and beat in the chocolate and any dry additions. Quickly pour in to your square silicone tray mould or tin, scraping as much as you can fron the sides of the pan.
Leave to cool. I like to refrigerate overnight after cooling before cutting into squares.
I took pieces of fudge and softened in my hand, then packed it into the shells. I then inserted two cocktails sticks into each. This proved to be a pain when putting the final sealing coat of candy melts on, so I actually took them out again and then inserted straight after.
About a teaspoon of candy melts on top of each and wiggle the mould a little from side to side. The candy melts (or chocolate) will self level. Just do one or two at a time. This stuff hardens pretty quick.
They were a dawdle to remove from the moulds as you can see below.
I made two trays of these up and made a few of them into fudge pops by putting lolly sticks in instead of cocktail sticks.
To make the bouquet, you will need a polystyrene ball. The one I used was 4" diameter. I got a pack of them off Ebay a year ago before I made the soap bouquet and they worked out under £1 each back then.
As this was to be mounted on top of a tinplate watering can (£3.00 from ASDA). I used a serated bread knife to make a flat base on the ball.
Make sure you refridgerate these fudge pop thingys until they are good and hard. If you don't, the candy coating will break off as you try to push the sweets on to the ball. I wasted a few. Take say 3 or 4 out the fridge at a time and leave the rest in there as you work.
Use a clean kitchen towel to hold the sweets whilst you push them into the ball. Contact with your hands will melt the chocolate and they won't look good with finger prints :-P
Insert the sweets into the ball and cover it. Do about 1/3 to 1/2 the ball and put the ball back in the fridge for at least 30mins. When you turn the ball round to put the final sweets on, it's almost impossible not to put pressure on the rest. A few may break - so do have some spares. It's best to make sure the ones on the ball and cold and hard before you do this.
Once covered mine went in the fridge for a couple of days until I had to finish it in a mad rush to send to my mum. You see, I had a really silly accident and sprained my left wrist. Hell - it HURT for a good couple of days and I'll admit it was agony just trying to finish this. I couldn't have done it without the help of pain killers.
I did something really daft. Oliver was not as nursery as he was poorly. He had to come to work with me for a little while. Whilst we were there, he spotted a little scooter that I'd bought for him to take when we go up to Scotland at the end of the month. The steering is a bit weird. You put weight on the board to turn left or right. It's meant for kids a bit older, but he should manage.
Anyway, he wanted mummy to show him how... Here's this great heffalump on a toddlers scooter. The handlebars stopped at my knees. So I was scooting in the yard when the wheel jammed on a tiny stone.... que Heffalump goes fundamental over basic right over the handlbars. SPLAT. Geez it hurt !
I think I muttered many a curse in my head before regaining composure. Oliver (bless him) asked me what needed to be kissed better :-) I'd do it every day for Oliver kisses - they're few and far between !
Anyhow....
I had the remains of a fake white rosebud bouquet in my stash. I snipped them off and inserted them in the spaces between the sweets. The polystyrene ball is much harder than oasis used for flowers, so I had to first of all make holes with a wooden skewer to be able to insert them.
That's actually all there is to it. The "ball" is just sat on top of the watering can. You could sit it on top of a nice vase if you prefer.
Makes a super sweet gift that any recipient will always remember. You could even make them for wedding table decorations that double up as favours !
That's it folks - it's 4am and I need some beauty sleep. Working these hours, no wonder I'm in need of a face lift ! I'll catch the blog up with some things I've missed very soon and next time I ride a kiddies scooter, I'll remember my crash helmet ....
Well - these really did not take long to make, and they did not last long either. These cookies are buttery and melt in the mouth. Two of them sandwiched together with buttercream in the centre creates a cookie that is very like a yoyo in size and shape !
Rather than just make a normal vanilla buttercream, I vamped it up a bit and added a load of cocoa about 3 tablespoons of toasted and ground hazelnuts which worked beautifully.
They would make the perfect accompanyment to a cup of tea and a super size to pop on the top or centre tier of a cake stand. Or share as I did with a best friend over a cup of tea !
They're easy and quick to make and the recipe produces only 8 > 9 filled cookies - so not too many either. I had one with a friend the morning I made these and then too the rest into work.
Recipe - Melting Moments
170g salted butter
60g icing sugar
170g plain flour
60g corn flour (I used rice flour as had run out !)
2tsp vanilla extract
Beat butter and sugar until fluffy and then gently combine the flours.
Roll into walnut sized balls on to a baking tray prepared with baking parchment or a silicone baking sheet /tray liner. Flatten with a fork.
Bake for approx 12 mins at 160deg C fan until just starting to take on colour.
Once totally cooled, fill with your buttercream.
I had no real recipe for this. I started with a dollop of butter and some icin sugar, added some cocoa, a splash of milk and about 3 tablespoons of hazelnuts (ground and toasted).... then a bit more icing sugar to get the right consistency.
I piped the buttercream using a 1cm nozzle on to the cookies for neatness.
I've been really busy the last few weeks and am still VERY unorganised for the coming show. There is lots and lots of work to be done.
I'm honoured to have had some bloggers helping me out with some photos for my slideshow presentation to be part of our stand at the Ideal Home Exhibition at the SECC 27 > 30th May. Do come and say hello if you are there ! We'll be opposite the farmers market at the division between homewares and the food halls.
I'm dying to show you some of the photos - but need to get up to date with a load of work yet.... but they'll come soon :-)
The last few weekends have been rather packed. The week before last, we made a day trip to the seaside. I was upstairs in Oliver's room gathering some clothes and towels when suddenly it got very dark. There was a hot air ballon directly behind the back of our house and totally blocking out the light from the window.
I shouted down stairs and my husband quickly put some clothes on Oliver and they raced outside to see the balloon land. Unfortunately, from where I was, it was not possible to get a photo. Oliver is a bit wary of sitting high up on Daddy's shoulders and was gripping on just a bit too tight....
We all got to watch once Oliver relaxed a little !
Then it was off in the car to the seaside on the North Norfolk Coast with Victoria, Emma, Maurice, V's dad and nanny.
Looks lovely - doesn't it. Gloroiously sunny day - but VERY windy and bitterly cold !
You would never guess hwo cold it was. Oliver even took a dip (albeit accidentally) in the sea ! There is a video clip of Youtube. He really wasn't expecting what happened.
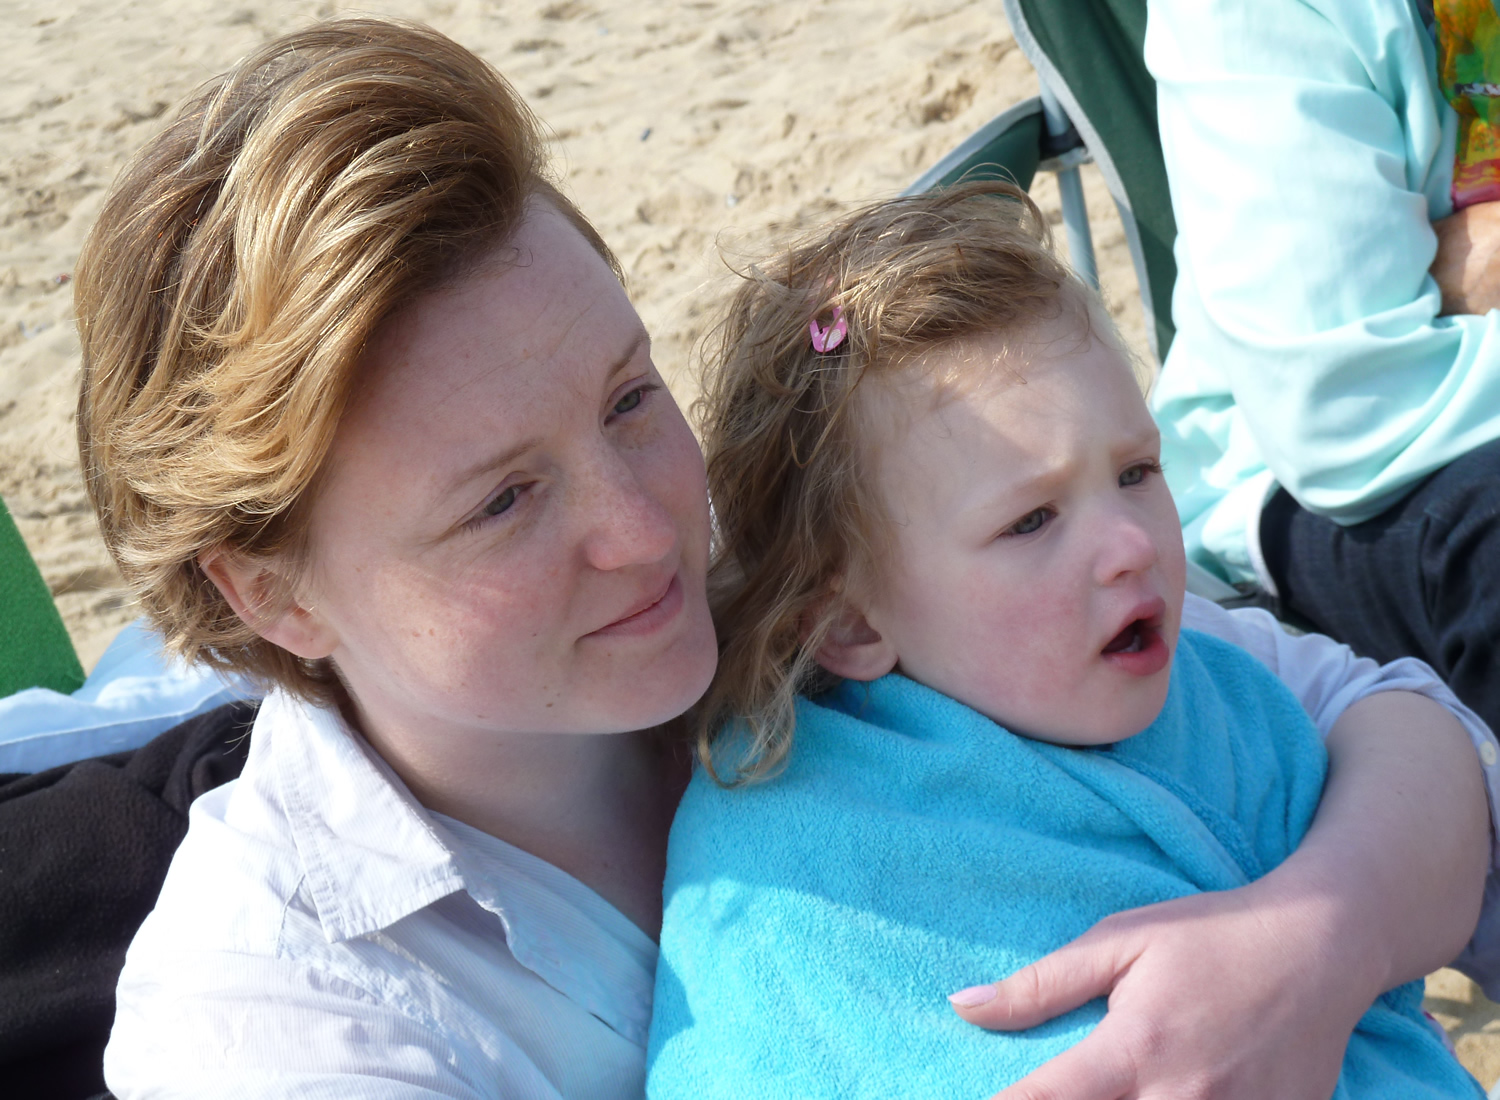
Emma having a cuddle with her mummy (Victoria) in an effort to warm up.
Sun, sea, sand and WIND !
.
Two freezing children - by this time, Oliver was practically turning blue ! Still took a lot of effort to "remove" them from the sand and head home
On the way home, we spotted a tiny little bicycle for sale by the side of the road for just £5.00 - so Oliver now has his first real bike. He had to practise riding it with Daddy as soon as we got back.